Monday, February 20, 2023

Easy Spicy Pickled Pineapple Recipe With Step-By-Step Instructions


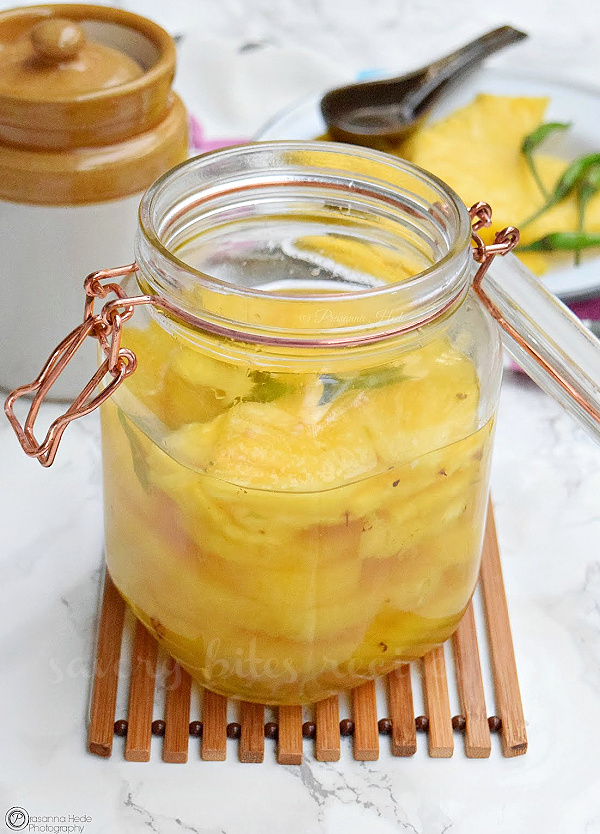
Spicy Pickled Pineapple is a quick and easy recipe. This is one of our favorite ways to preserve fresh pineapple. Treat yourself and some friends to this spicy pickled pineapple recipe. 

This post contains Affiliate links. Please read my 
disclosure policy
.

Summer calls for snacking on delicious pickled vegetables and this Pickled Pineapple is a sweet and spicy snack that you can enjoy in a taco, burrito, in a sandwich, or just right out of the jar.

If you haven't tried pickling vegetables before then do try this recipe for pickled pineapple - it's easy, with few ingredients and just enjoy this fantastic snack in under 30mins.

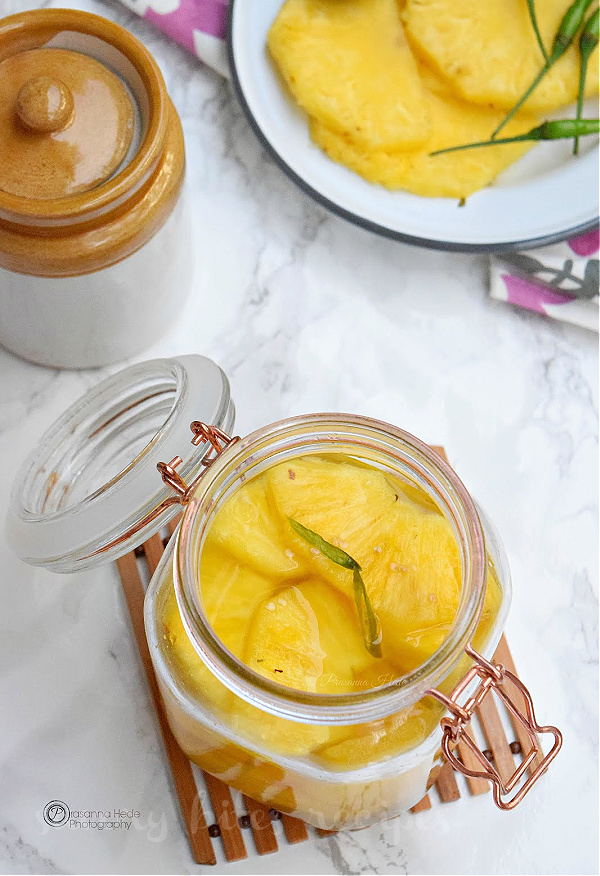
Pickled Pineapple

If you have not picked up vegetables or fruits earlier then try this recipe of Pickled Cherry Tomatoes, Pickled Beets, as these recipes are a straightforward and delicious snack or side.

Summer brings a variety of fruits and vegetables that are not available the rest of the year, one of the fruits that you get in summer is fresh pineapple. And what can be better than enjoying these fruits as a snack straight from the pickling jar?

Recipe Ingredients

This recipe needs a small list of ingredients to make this spicy pickled pineapple:
  • Fresh pineapple
  • White Vinegar
  • Sugar
  • Salt
  • Green Chili / Jalapeno
  • Water
Honestly, this pickled pineapple recipe yields the best and most delicious healthy snack and you can enjoy them right out of the jar.

How To Pick The Perfect Pineapple? Which Pineapple To Buy?

Choose a pineapple that is orange in color and when you smell the pineapple you will get the sweet smell.

If the pineapple is yellow or green then it's not ripe and it will be sour. Choosing sweet pineapple will reduce the amount of sugar that will go into pickling it.
How to Store The Pickled Pineapple?

The jar with pickled pineapple stays fresh for a month once refrigerated. You can enjoy this snack whenever you crave some spicy and sweet snacks.

If there is a foul smell to the pineapple and it starts to taste funny then you can discard the rest of the remaining pineapple.


How To Preserve Pineapple? How To Keep Pineapple  Fresh In A Mason Jar?

To preserve pineapple and to keep it fresh, preserve the slices or chunks in the brine prepared and store them in a glass jar. Keep this refrigerated.

How To Make Pickled Pineapple?

Follow these simple steps to make the easy pickled pineapple recipe:

Step 1:  Slice pineapple or cut it into chunks as per your choice. 

Step 2:  In a large saucepan add the ingredients mentioned along with pineapple pieces or pineapple chunks and let it come to a boil. Simmer this brine for some time.

Step 3: Switch off the gas and let it cool down. When it has cooled down, then pour the pickling liquid into a sterilized jar. Make sure you do not break pineapple pieces if you have made slices.

Step 4:
  Let the jar contents completely cool down before closing the lid. Once cooled, close the lid and keep it in the fridge to marinate the pineapple.  

Step 5:  Enjoy the pineapple pieces right out of the jar or in a taco or sandwich.


If you liked my recipe then please save this ⤵ pin

Labels: , , ,

Friday, December 30, 2022

How To Make Red Lobster Cheddar Bay Biscuits (A Step By Step Guide With Tips)

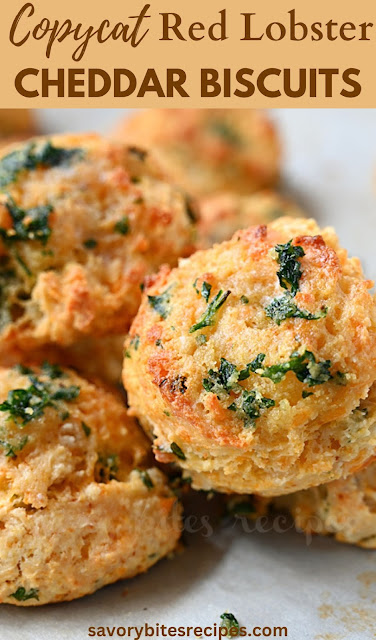
These Red Lobster Cheddar Bay Biscuits are a copycat recipe. Learn how to make these copycat Red Lobster Biscuits from home with step-by-step photos.

This post contains Affiliate links. Please read my disclosure policy.

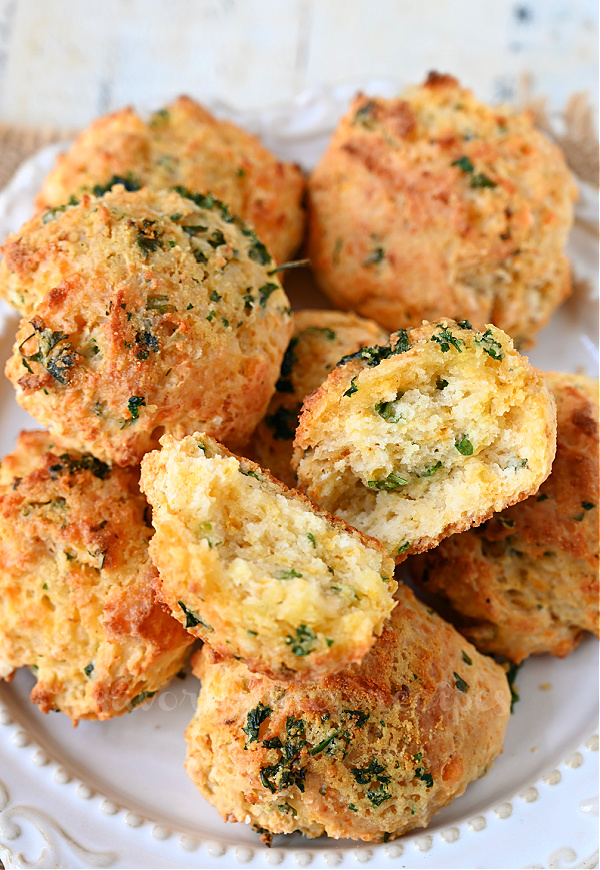
These copycat Red Lobster cheddar biscuits are so light, buttery, and delicious, better than the restaurant ones. 

These biscuits are ready in under 30mins and are so flaky and irresistible!
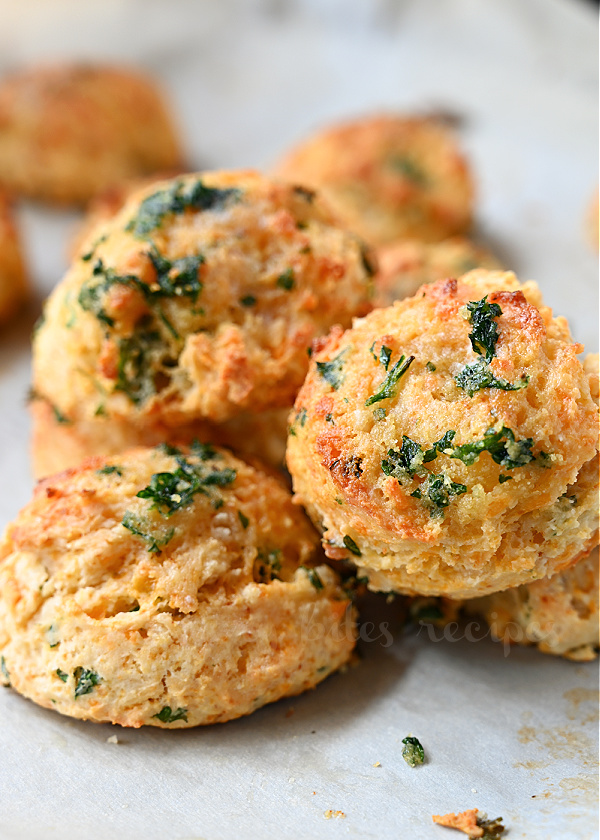
red lobster cheddar bay biscuits piled up

Red Lobster Cheddar Biscuits

If you love to eat at Red Lobster just to enjoy the buttery biscuits then try making them at home, they are effortless and so good!

These homemade red lobster cheddar biscuits can be enjoyed as a side, dipped in soup, or even for breakfast, just warm them in the oven and you're good.

Make the best cheddar bay biscuits recipe from scratch at home!
a close up of red lobster cheddar biscuits

Red Lobster Biscuits Ingredients 

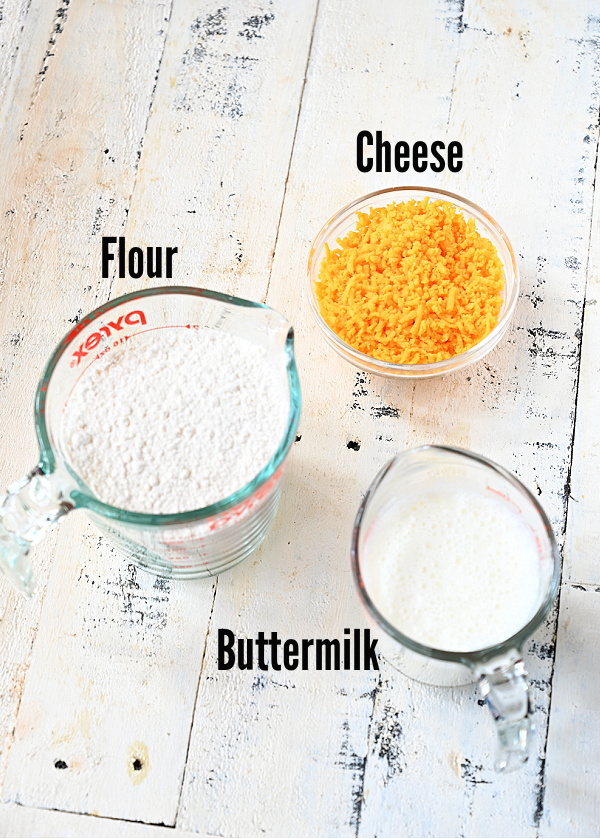
Ingredients to make copycat red lobster cheddar bay biscuits from scratch are easily available in the pantry:
For Biscuit Dough:
  • All Purpose Flour
  • Baking Powder
  • Sugar
  • Salt
  • Butter
  • Sharp Shredded Cheddar Cheese
  • Garlic Powder
  • Fresh Parsley
  • Buttermilk
  • Cayenne Pepper

For Butter Topping:

  • Butter
  • Garlic Powder
  • Fresh Parsley
ingredients list to make cheddar bay biscuits
ingredients to make red lobster copycat cheddar bay biscuits

How to Make Cheddar Bay Biscuits

Make the Dough

Mix the dry ingredients along with the butter:

First, preheat the oven to 400 degrees Fahrenheit/200 degrees Celsius.

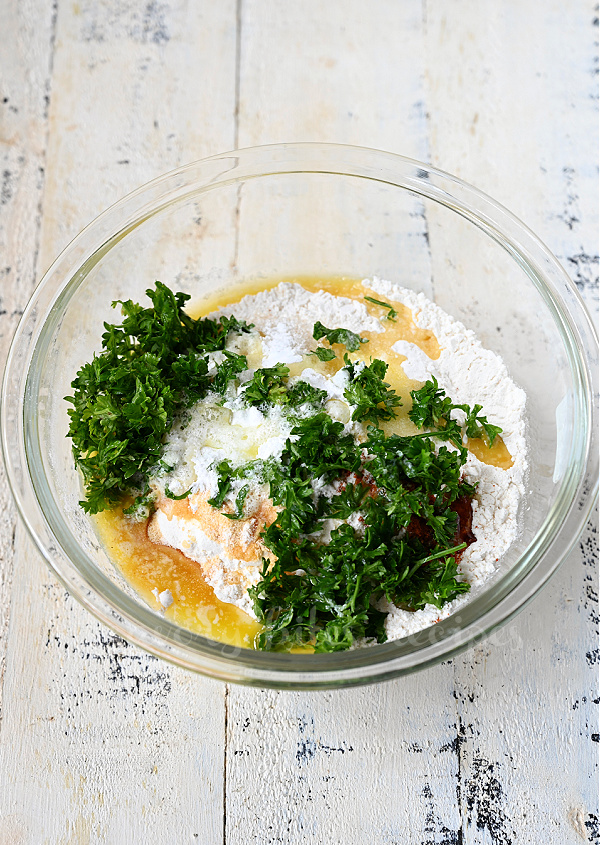
In a bowl add all the dry ones one by one. Starting with flour, then salt, sugar, baking powder, garlic powder, cayenne pepper, and parsley.

Then add melted butter and mix once.
a bowl with ingredients added to bowl

Add Cheese and Buttermilk:

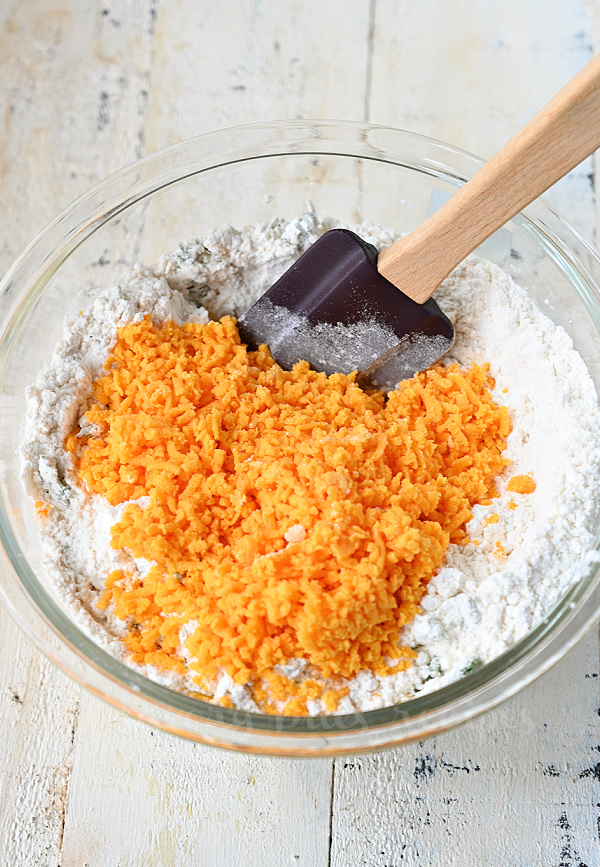
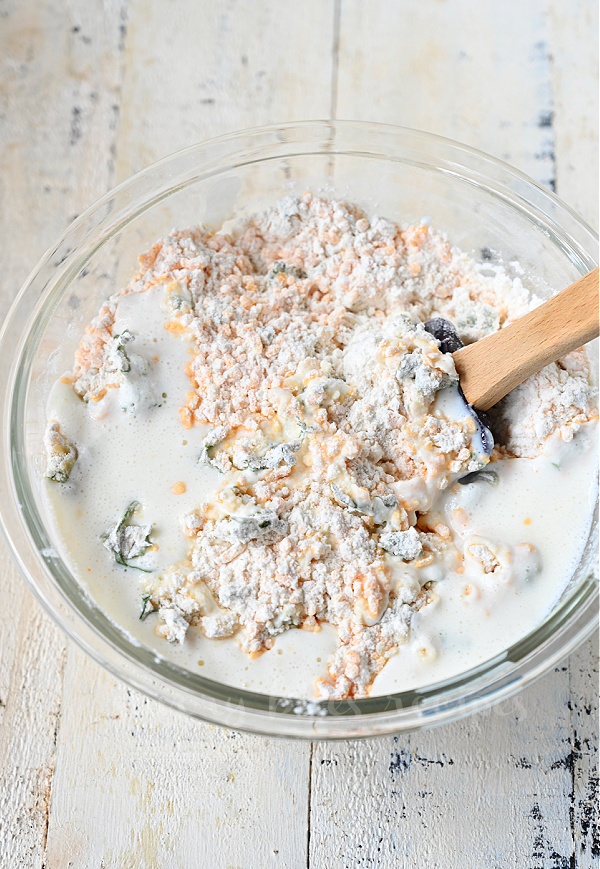
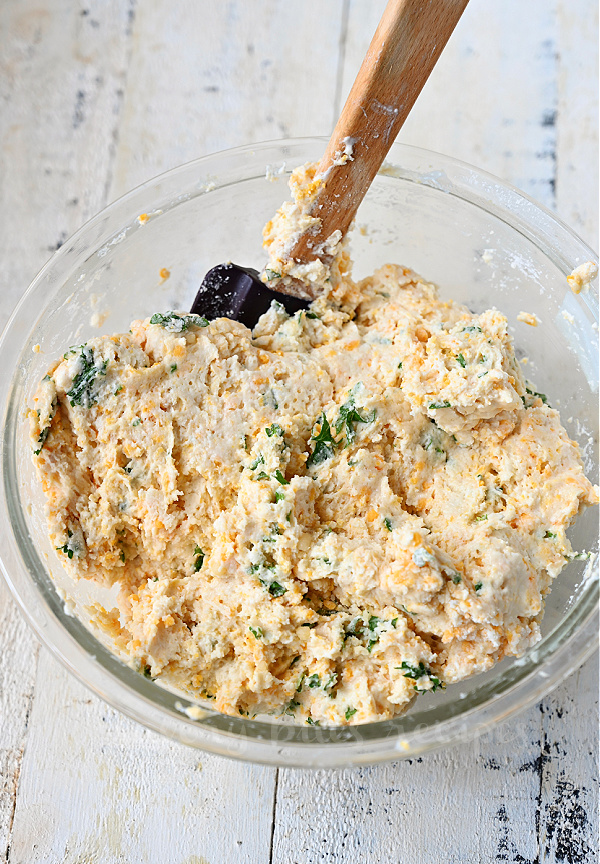
Next add a grated sharp cheddar, followed by buttermilk to the bowl and stir well with spoon.
add shredded cheddar cheese to bowl
add buttermilk to bowl to make dough

Scoop biscuits on parchment paper:

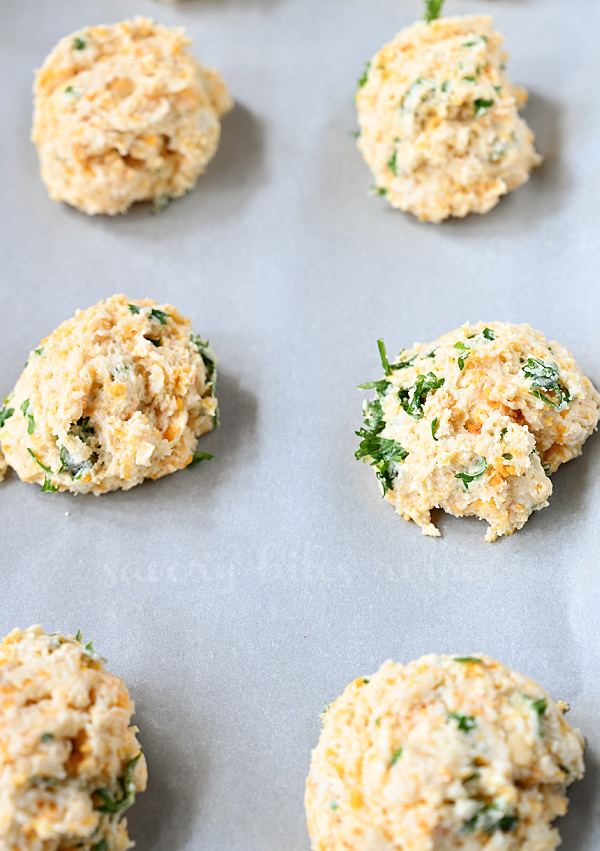
Align the baking sheet with parchment paper. Scoop spoonfuls batter and arrange them on prepared baking sheet, leaving space approx. 1.5 inches between biscuits.
mix the ingredients to make dough
scoop dough on parchment paper

Bake:

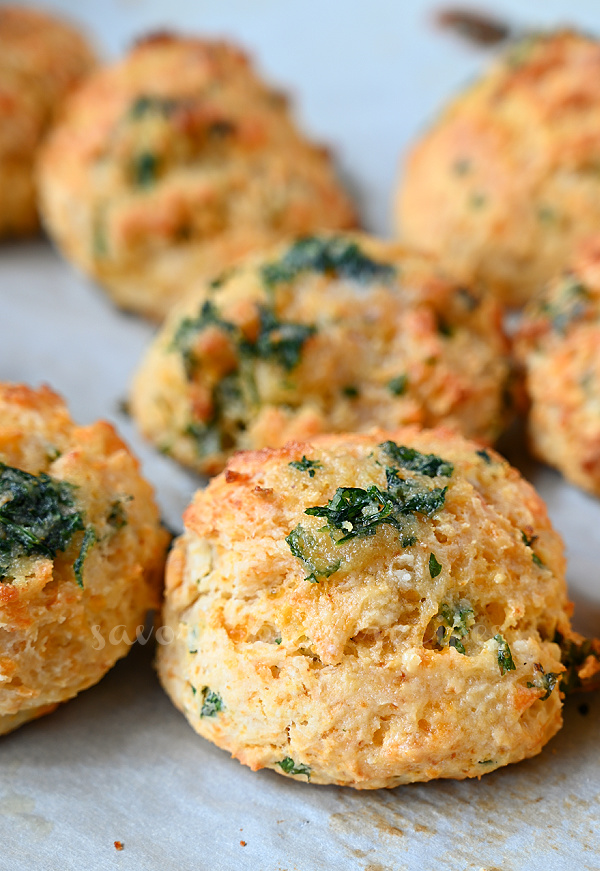
Bake the biscuits for 12 to 15 mins until the biscuits are golden brown.
best homemade copycat red lobster cheddar cheese biscuits

Make the butter topping and brush over warm biscuits:

Melt butter in a small bowl and remaining ingredients to make the buttery topping. 

In a  bowl/cup mix together the ingredients for the buttery mixture and brush over the biscuits.
Serve warm.
top view of a white plate with red lobster copycat cheddar cheese biscuits
homemade red lobster cheddar cheese biscuits

Frequently Asked Questions:

What to Serve with Cheddar Bay Biscuits?

These cheddar bay biscuits taste amazing on their own or as a side to:

How to Store Cheddar Bay Biscuits?

Let the biscuits cool down at room temperature, then wrap them in food wrap paper and store them in an airtight container over the counter for up to 3 days.

If you want to refrigerate then they stay good upto 7days.

How to Reheat Red Lobster Biscuits?

To reheat the biscuits simply pop them in the microwave and heat them at 10secs intervals until they are warm.

Can I freeze red lobster cheddar biscuits?

Yes! If you want to freeze the biscuits then store them in a freezer bag. They freeze well for up to 3 months.

Pro Tips:

  • Mix ingredients with light hands to make dough. Do not overdo it.
  • The dough should be slightly sticky and not thick or watery.
  • Use an ice cream scoop to scoop out the biscuits.
More Copycat Recipes for you to try!


If you liked my recipe then please save this ⤵ pin
Copycat Red Lobsteer Cheddar Biscuits

Labels: , , ,

Friday, November 18, 2022

How To Make Refrigerator Pickled Beets In 7 Easy Steps

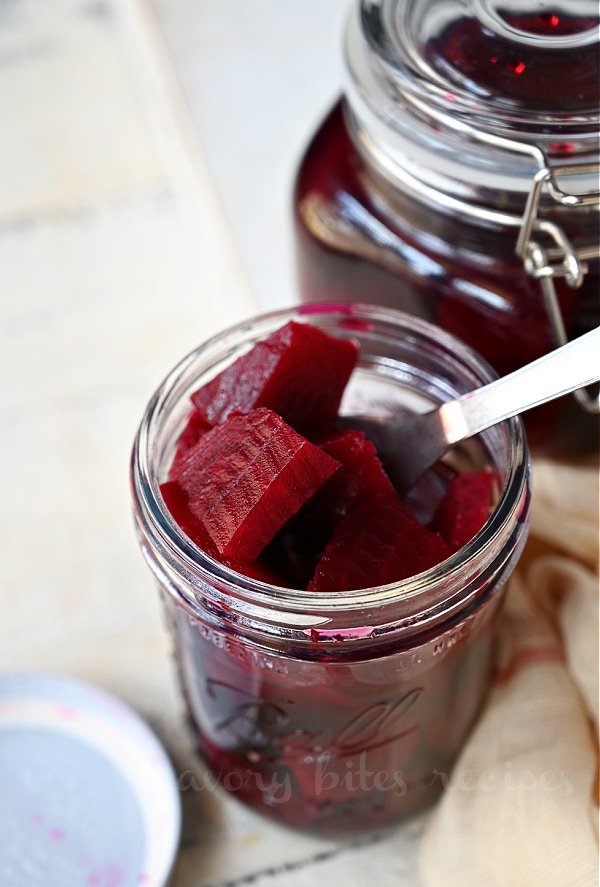
Best refrigerator pickled beets, ready quickly and last up to 6 weeks. They are so good, serve them as a side dish, add them to salads, add them to a sandwich or enjoy them straight from the jar!

This post contains Affiliate links. Please read my disclosure policy.

This refrigerator pickled beets recipe is ready in no time and is the easiest way to enjoy the tangy and delicious pickled beets without following the lengthy canning process.

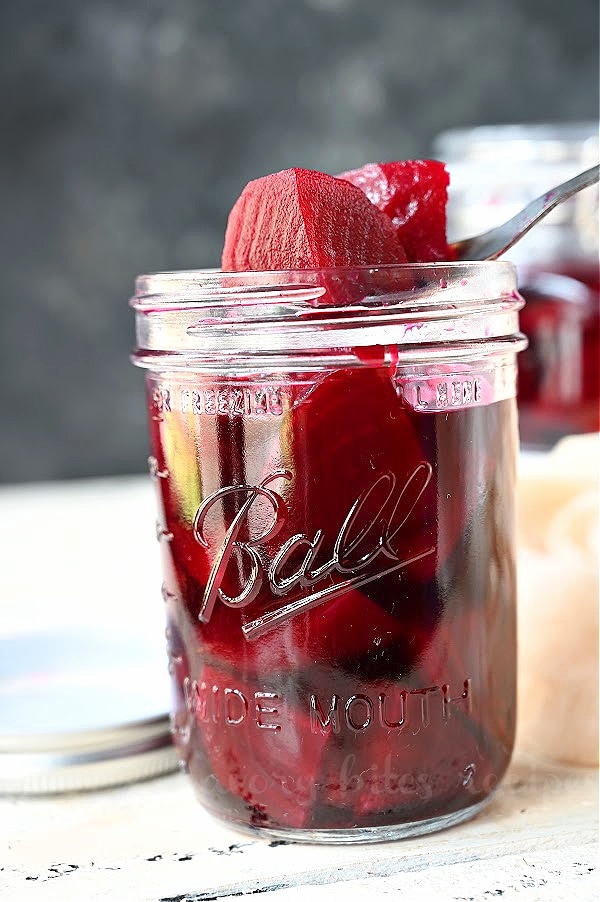
easy and best refrigerator pickled beets

Refrigerator Pickled Beets

This refrigerator pickled beets recipe is slightly different than the traditional followed recipe of canning, where you first sterilize the jars, then further process them in a water bath, let them dry, then cook the beets, make pickling brine(juice), add everything in jars and let them sit on the counter!

This recipe is different from my previous recipes of pickled pineapple and pickled cherry tomatoes, as I am cooking or roasting the beets. This recipe can be used for other vegetables.

What You Will Need:

To make this quick and easy recipe of pickled beets, you will need:
  • Beets - I prefer red beets, firm and medium-sized ones. You can use golden beets, baby beets, or Chioggia beets. Whichever you get those will work fine in this recipe.
  • Water
  • Distilled White Vinegar - You can also use Apple Cider if you like.
  • Sugar
  • Bay Leaf
  • Garlic cloves
  • Black Peppercorns
  • Sea Salt
  • Cinnamon
a jar with easy pickled beets

How To Make Refrigerator Pickled Beets?

Step1:  Start by scrubbing the beets thoroughly and chopping the roots and leaf ends of the beets. 

Step2:   Clean the jars with hot soapy water and rinse them with warm water. Drain well and dry them with a clean cloth. Optionally, you can also submerge the jars in boiling water and the lids in hot water. Drain water and dry the jars and lids with a clean cloth.

Step3:   In a wide bottom pot, place beets and add 6 cups water. Let them boil till they are knife tender. Reserve 1 cup of beet water.

Step4:    Remove the beets from the water and let them cool. Peel off the skin and quarter or slice the beets.

boil beets to make pickled beets
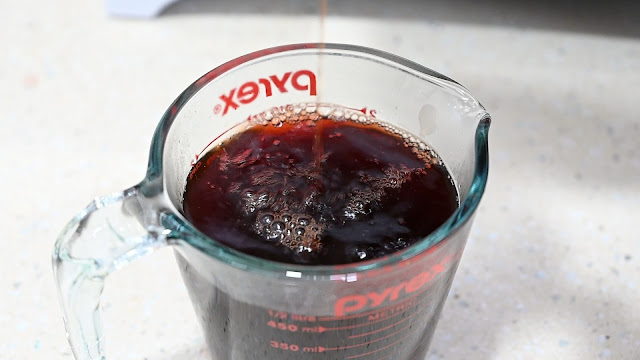
steamed beets liquid poured in cup

Step5:
   In a small saucepan, add white vinegar, sugar, bay leaf, garlic, peppercorns, sea salt, beets liquid, and cinnamon. Bring this to a boil and let it simmer for 8 to 10mins over medium heat.
cook the beets marinade

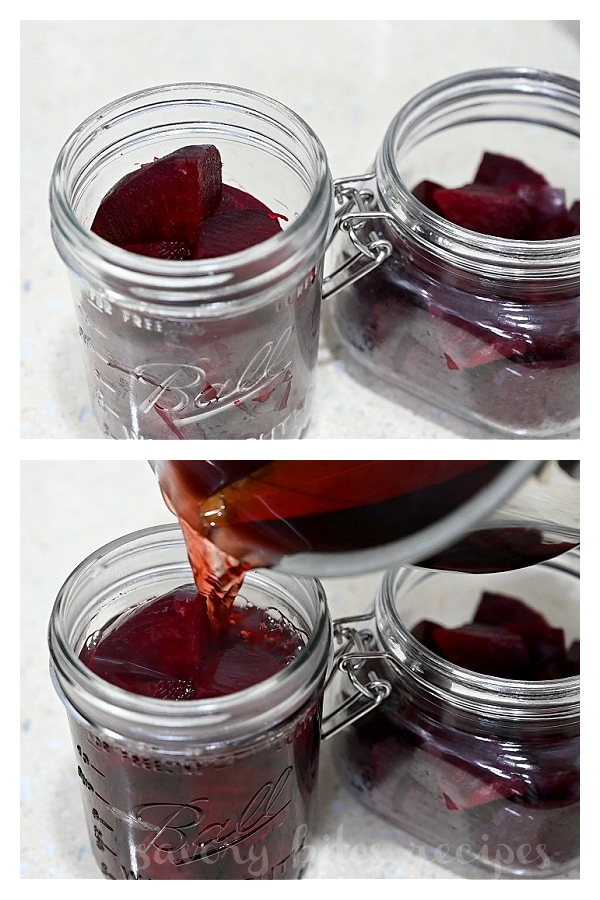
Step6:    Let the pickling liquid cool a bit. meanwhile, add the beet pieces to the jars. Make sure that you leave some space for the pickling brine in the jar.

Step7:    Ladle the pickling brine on top of the beets in the jar leaving 1-inch head space until the beets are submerged. Here you can discard bay leaf.
how to pickle beets to make refrigerator pickled beets
Step8:   Let it cool completely. Tightly seal the lids and place them aside on the counter for some time and then keep them in fridge.
Serve as you wish.
mason jar with easy pickled beets
close up of refrigerator pickled beets in jars

FAQ's

Should Pickled Beets Be Refrigerated?

The easy refrigerator pickled beets are easy and quick to make, so the beets here pickled in brine need refrigeration for avoiding spoilage. They stay good for 6 to 8 weeks so the best is to refrigerate them.

On the other hand, if you are pickling beets the traditional canning way, like processing the jars in a hot water bath then there is no need for refrigeration but it takes a long time to complete this process.

How Long Do Refrigerated Pickled Beets Last?

This pickled beets recipe will give you very quick and delicious pickled beets which stay well refrigerated for up to 8weeks.

Which Beets Are Best To Make Pickled Beets?

Use medium, firm red beets to make this recipe. You can also use golden beets, canned beets, or baby beets too. They all will work great for this recipe.

How To Serve Pickled Beets?

Serve these delicious pickled beets as a side, in a sandwich, or right out of the jar! They are a great snack too.

How Do You Know If Pickled Beets Have Gone Bad?

These pickled refrigerator beets stay good for 6 to 8 weeks, but if you see any discoloration or get an off smell then it is best to discard the beets.

Tips To Make This Recipe:

  • Use of firm beets works best for this recipe. You can use any kind of beets to make pickled beets. Red, golden, baby beets, or Chioggia beets, all work fine.
  • This refrigerator method is not traditional so cooking beets is required before pickling them. You can roast, cook or steam them to use.
  • To try use a 1:1 proportion of beet liquid and vinegar. I have used a little more vinegar but to compensate I have used sugar in this recipe. You can use Apple Cider Vinegar too. Do Not cut down on sugar as the beets will taste like vinegar. You will not consume the brine so sugar is fine.
  • Make sure to use heat-safe jars for this recipe as we are adding hot pickling brine to the jars.
  • Before adding beets and brine to the jars make sure the lids and jars are properly cleaned and dry.
  • If you do not like the spices I have added to this recipe then skip the spices. That won't change much in the final taste of the beets.
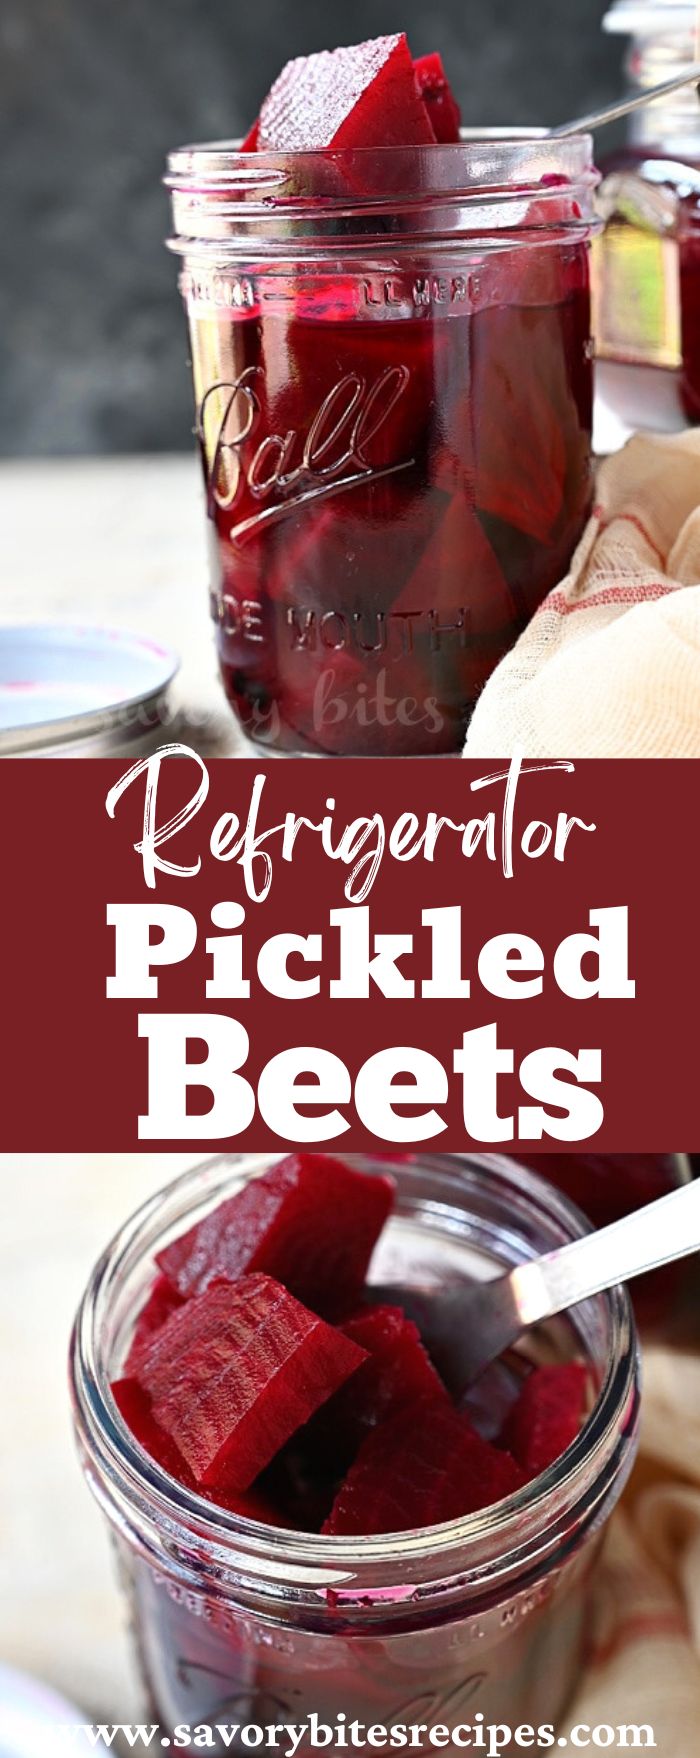
If you liked my recipe then please save this⤵ pin
best refrigerated pickled beets

Labels: , , ,

Wednesday, March 10, 2021

The Best Mexican Street Corn Salad (With Video)

 The best Mexican street corn salad - Esquites, you have to try! This is very easy, buttery, and cheesy street style Mexican street corn in a cup which is very delicious and you will love it. Here grilled corn is sauteed in butter and further added spices along with veggies, cheese and served with cotija and chopped cilantro, which makes this dish so flavorful.


This post contains Affiliate links. Please read my disclosure policy. 


If you love Mexican street corn (Elote) then this recipe of Mexican street corn salad(also known as Esquites) will be your favorite.

This grilled Mexican street corn salad is famous at my house and quite often on the menu rotation, whether it's BBQ season or not.

You can also enjoy this salad as it is with a lot of chopped cilantro, lime juice, cumin, and paprika or chili powder on top - it's yummy!

mexican street corn salad with grilled corn,chopped cilantro and cotija

Mexican Street Corn Salad

Mexican corn salad is the salad version of the famous Mexican street food, that is Elotes.

Basically, Esquites is "corn off the cob", compared to Elotes, where the corn on the cob, slathered in butter is further grilled on the grill, then tossed in a generous creamy sauce, and finally topped with 
cotija cheese. 

What are Esquites?

The difference between Elotes and Esquites is that Esquites is an "off-the-cob" version of Elote, where the corn is grilled then further you cut the kernels off the corn.
Then saute the kernels in butter, then add the spices, and finally add the creamy sauce mix along with all the toppings that you will like.

a white bowl with mexican grilled street corn salad topped with chopped cilantro and cotija

Ingredients you will need to make the corn salad with mayo:

Following are the ingredients you will need to make the Mexican salad:
  • Grilled Corn
  • Cumin
  • Paprika
  • Cayenne
  • Onion
  • Spring Onion
  • Cotija
  • Parmesan
  • Sour Cream
  • Mayonnaise
a close up of fresh corn
ingredients to make mexican street corn salad

How to cut corn off the cob?

The best way to cut corn off the cob without making the kernel flying around your kitchen is by placing a ramekin upside down in a large bowl and make the corn stand on the ramekin and cut the kernels off the cob.

Another way is to use a bundt pan! Yes! I found this idea How to prep the corn?

how to cut corn off the cob

How to make Mexican street corn salad?

Step1:  Prepare the corn
Firstly, grill the corn to make the salad. Apply butter on corn and sprinkle some pepper powder along with salt. Heat the grill and cook the corn directly on the grill till corn has grill marks.
You can alternatively boil or steam, the corn with salt and butter to make the classic corn on the cob.

butter grilled corn

Step2:   Cut corn off the Cob
Place the corn standing on a ramekin inverted ina wide/large bowl and start cutting the corn kernels off the corn. This way the corn kernels won't fly around the kitchen.

Step3:   Prepare the salad
Add butter to skillet, when it melts, add corn kernels and saute for few seconds.

Reduce heat and add salt, cumin powder, cayenne powder, Paprika/Chili powder, mayonnaise, parmesan, cotija, sour cream, onion, spring onion, tomato, and mix well.

Add lime juice and cilantro chopped. Mix once and switch off the heat.

Serve with chopped cilantro, some more crumbled cotija cheese, paprika, cumin.
how to make the grilled mexican street corn salad
steps to make mexican street corn salad recipe
how to make best mexican  corn salad
a closer look at bowl with best mexican grilled street corn salad with cotija and lemon
a closer look at a white bowl with best grilled mexican street corn topped with crumbled cotija

More Salad Recipes:

More Mexican Recipes:

Storing Mexican Street Corn Salad

You can store leftover Mexican street corn salad in an airtight container for 3 days more a little more. Do not freeze the salad as it will not taste the same once thawed.

What kind of corn to use? Can I use frozen or canned corn instead of fresh?

You can use either fresh corn, canned, or frozen, either way, it works well for this recipe. But the flavor well very well when it is fresh corn kernels compared to frozen corn.

Can I substitute the cheese?

Yes! If you are looking for alternatives for cotija then parmesan or feta works very well.

Tips to make the best creamy Mexican street corn salad

  • Always use fresh corn in this recipe as it will give the best, fresh flavor to the salad. Even if you can't find fresh corn then frozen corn works well too.
  • To use fresh corn, you can first cook the corn in salted water or grill the corn with butter, salt-pepper, and then cut the corn off the cob.
  • You can refrigerate the leftovers for up to 3 days without freezing.
  • You can skip cotija and use feta or parmesan instead.
a white bowl with creamy mexican street corn salad

The Best Mexican Street Corn Salad (With Video)

The Best Mexican Street Corn Salad (With Video)
Servings: 5 Servings
Author: Savory Bites Recipes
Prep Time:: 20 MinCook Time:: 10 MinTotal Time:: 30 Min
The best Mexican street corn salad - Esquites, you have to try! This is very easy, buttery, and cheesy street style Mexican street corn in a cup which is very delicious and you will love it. Here grilled corn is sauteed in butter and further added spices along with veggies, cheese and served with cotija and chopped cilantro, which makes this dish so flavorful.

Ingredients

For Corn:
  • 2 ears Fresh Corn, 2 to 2.5 Cup Corn kernels
  • Salt and Pepper Powder, as per need
  • 1 Tbsp Butter
For Salad:
  • 2 Tbsp Butter
  • 1/2 tsp Salt
  • 1/2tsp Cumin Powder
  • 1/2tsp Cayenne Pepper
  • 1/2tsp Paprika
  • 1/4Cup Mayonnaise
  • 1/4Cup Parmesan, powdered/shredded
  • 1/4Cup Sour Cream
  • 1/4Cup Red Onion, chopped
  • 2 Spring Onion, chopped
  • 2Tbsp Lime Juice
  • 1 Medium Tomato, chopped
  • 1/3Cup Cilantro, chopped
Garnish:
  • Cotija
  • Lime Wedges
  • Cilantro, chopped
  • Cumin Powder
  • Paprika

Instructions

  1. Prepare the corn
  2. Firstly, grill the corn to make the salad. Apply butter on corn and sprinkle some pepper powder along with salt. Heat the grill and cook the corn directly on the grill till corn has grill marks.
  3. You can alternatively boil or steam, the corn with salt and butter to make the classic corn on the cob.
  4. Cut corn off the Cob
  5. Place the corn standing on a ramekin inverted ina wide/large bowl and start cutting the corn kernels off the corn. This way the corn kernels won't fly around the kitchen.
  6. Prepare the salad
  7. Add butter to skillet, when it melts, add corn kernels and saute for few seconds.
  8. Reduce heat and add salt, cumin powder, cayenne powder, Paprika/Chili powder, mayonnaise, parmesan, cotija, sour cream, onion, spring onion, tomato, and mix well.
  9. Add lime juice and cilantro chopped. Mix once and switch off the heat.
  10. Serve with chopped cilantro, some more crumbled cotija cheese, paprika, cumin.

Notes:

  • Always use fresh corn in this recipe as it will give the best, fresh flavor to the salad. Even if you can't find fresh corn then frozen corn works well too.
  • To use fresh corn, you can first cook the corn in salted water or grill the corn with butter, salt-pepper, and then cut the corn off the cob.
  • You can refrigerate the leftovers for up to 3 days without freezing.
  • You can skip cotija and use feta or parmesan instead.

Calories

335.44

Fat (grams)

17.25

Sat. Fat (grams)

5.08

Carbs (grams)

44.69

Fiber (grams)

5.70

Net carbs

39.00

Sugar (grams)

10.37

Protein (grams)

8.88

Sodium (milligrams)

480.04

Cholesterol (grams)

21.81
mexican street corn salad, grilled mexican street corn salad, street corn salad
sides, salad
Mexican
Did You Make This Recipe?
Tag @prasannahede On Instagram and Hashtag #prasannahede
Created using The Recipes Generator
If you liked my recipe then, please save this ↷ pin
best ever mexican street corn salad


Labels: , , , ,